The Teleskop-Service ONTC 200 mm f/5 Newton telescope.
I
wanted an APO type astrograph to take with me on travel. I could
use my TEC140 for this but I prefer to keep it mounted in the
observatory. I also wanted something larger than say 100 mm
diameter. Although a newton telescope has some drawbacks, it
definitely is an APO and as price was a consideration, I don't think
I/you can find a 200 mm f/5 APO refractor at an affordable price!
So after some consideration and consultation I went for the
Teleskop-Service 200 mm f/5 ONTC. I guess that ONTC stands for
"Optimized Newton Tube Carbon" or something like that? These are
made on order by Teleskop-Service in Germany and are supplied with the
focuser and finder you specify when ordering. See the TS website
concerning this particular telescope here.
The
telescope normally comes with a FeatherTouch or Moonlite focuser, but I
ordered mine with the Baader SteelTrack focuser which gave an extra
price reduction.
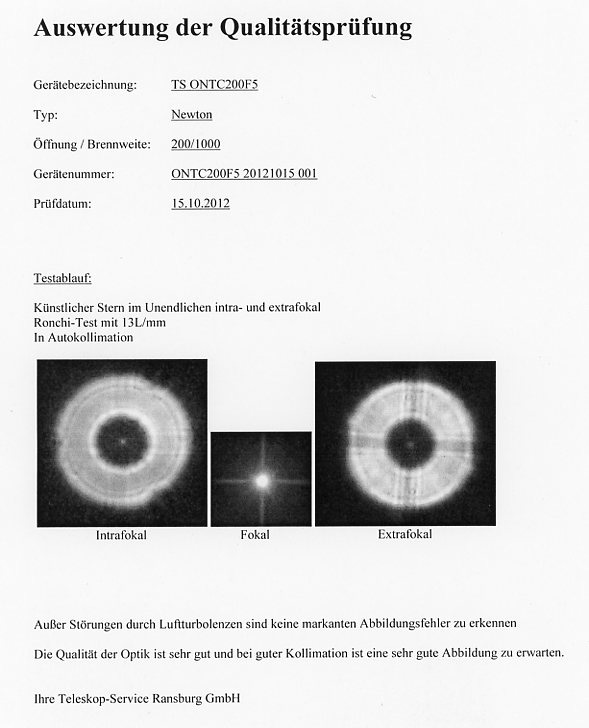
When ordering you can also ask for an optical
test, either a interferometric test or a star test, I asked for the
start test made on a test bench with an artificial star and the
assembled system:
I
asked Wolfi about the manufacturer of the main mirror, he did not say
the exact source of this optic, but it is a Chinese product (but not
from GSO). I took the primary mirror to the optics lab at the
university of Ghent and it was tested with a Foucault test to be better
than 1/10 wave, with a smooth surface, sure good enough ;-) .
I'll try to make a Ronchi-test image on a real star when
possible. Below is a screen photo showing the results of the
Foucault test.

After
ordering, the telescope was delivered in two boxes: one box containing
the carbon tube with the tube rings mounted on a Losmandy type
dovetail, the finder holder and the mounted secondary mirror support (4
vanes). A second box contained the primary mirror in its cell,
the secondary mirror on its holder, the finder and an optional (and
expensive!) ASA 0.73x corrector reducer.
I chose not to to have the
tube painted, so it came in its natural black coating but for the same
price you can have the tube in a white coating.
Assembly was easy,
for collimation I had to re-learn how to collimate a newton, I used a
Spheretec 2" Concenter to help with this.
First
tests were
satisfactory, but I found that the f/4 obtained with the ASA corrector
was too much for use from my observing place. I wanted to be able to
use an IDAS LPS filter on the reducer, but this is not possible on the
ASA. So I sold the ASA corrector/reducer and replaced it with a
second-hand Baader MPCC and I will use the telescope at its f/5 focus.
Later I sold the Baader MPCC as I could buy a second hand GPU
Newton Coma Corrector.
Also,
when I mounted my SBIG ST-10XE and later my STT-3200ME camera, as expected I had to move the
tube back on the mount for good balancing, but then the end of the tube
came quite low and in some positions when aiming high hit the legs of
the tripod. I had a spare Takahashi Mewlon
counterweight-rail (came with my Mewlon 300), so I mounted this
on the ONTC. When I mount the camera on the telescope, I also put a
counterweight on this rail, this way I don't have to move the telescope
for re-balancing, I only need to adjust the counterweights on the
declination axis.
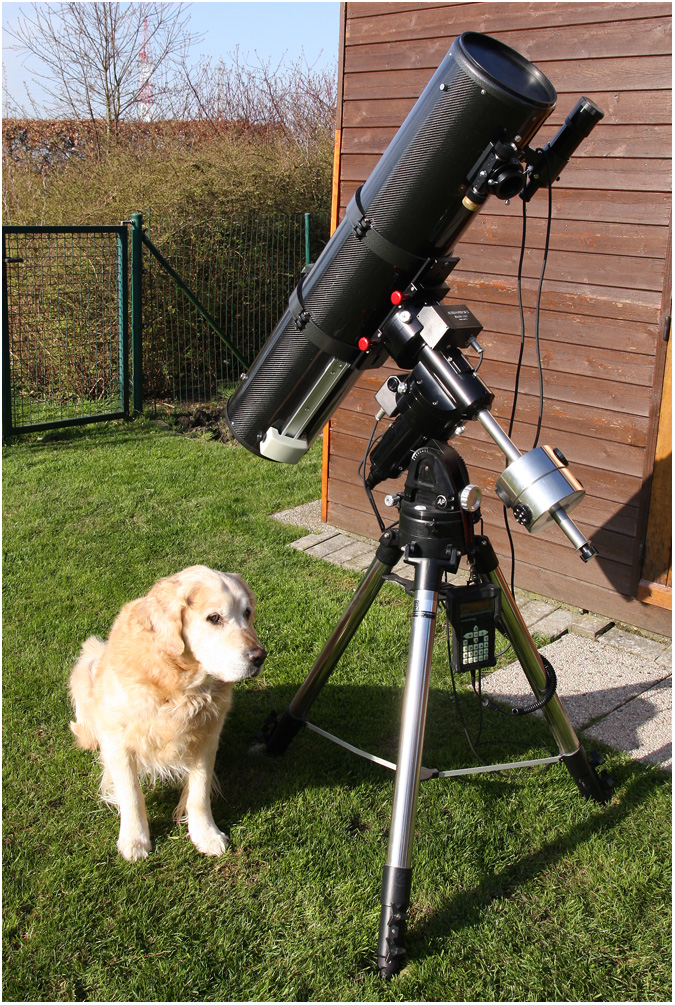
Below is an image of the telescope, without
the camera but with the extra counterweight on the tube, mounted on my
Astrophysics Mach1GTO. The finder is a 7x50 finder in its
adjustable support. My sister's dog, a golden retriever called Brimstone (Brim for short), is "guarding" the setup ;-).
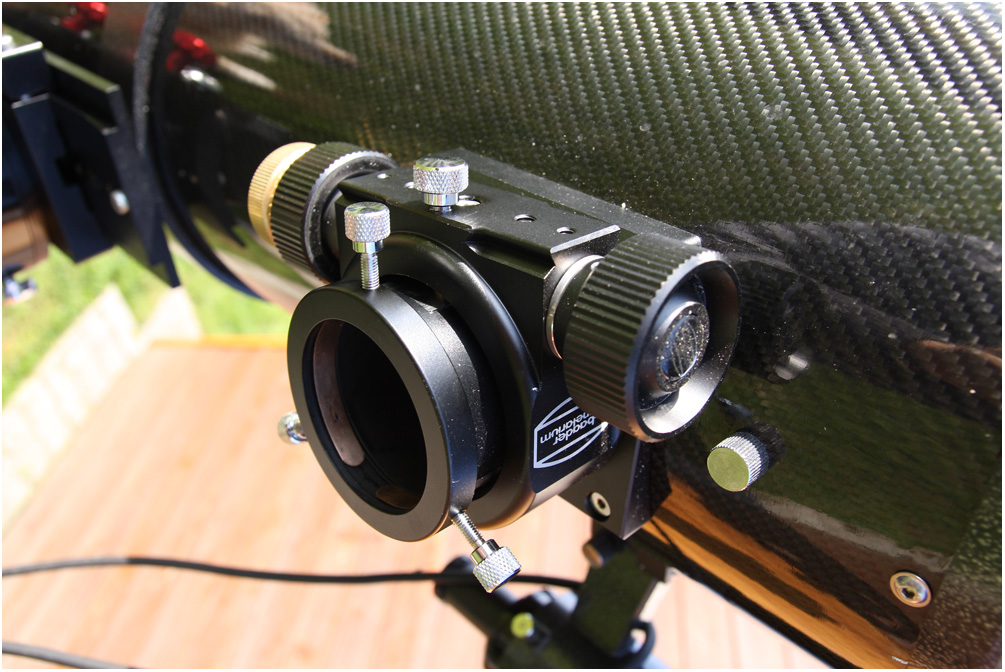
Below are images of the secondary and primary mirror holders.
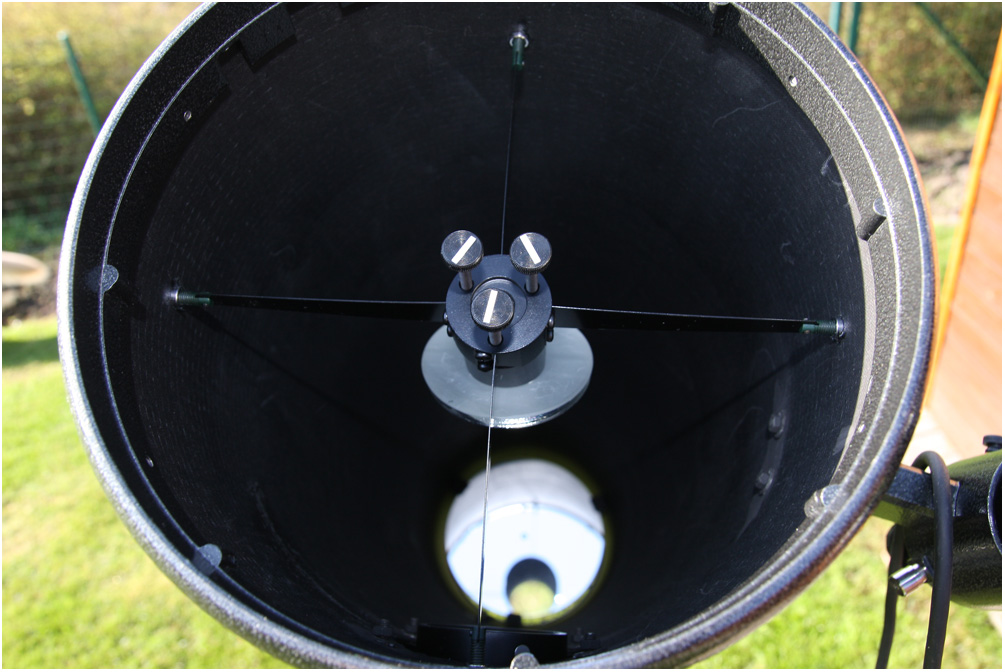
The
secondary mirror support was just sufficient, for me the center support
could well be a somewhat larger diameter that it is now. I put
the white markings on the knobs to help during positioning of the
secondary. As
it was difficult to collimate the secondary with this support I
replaced it later with a better support from Unger-Astroparts, see
photo below.
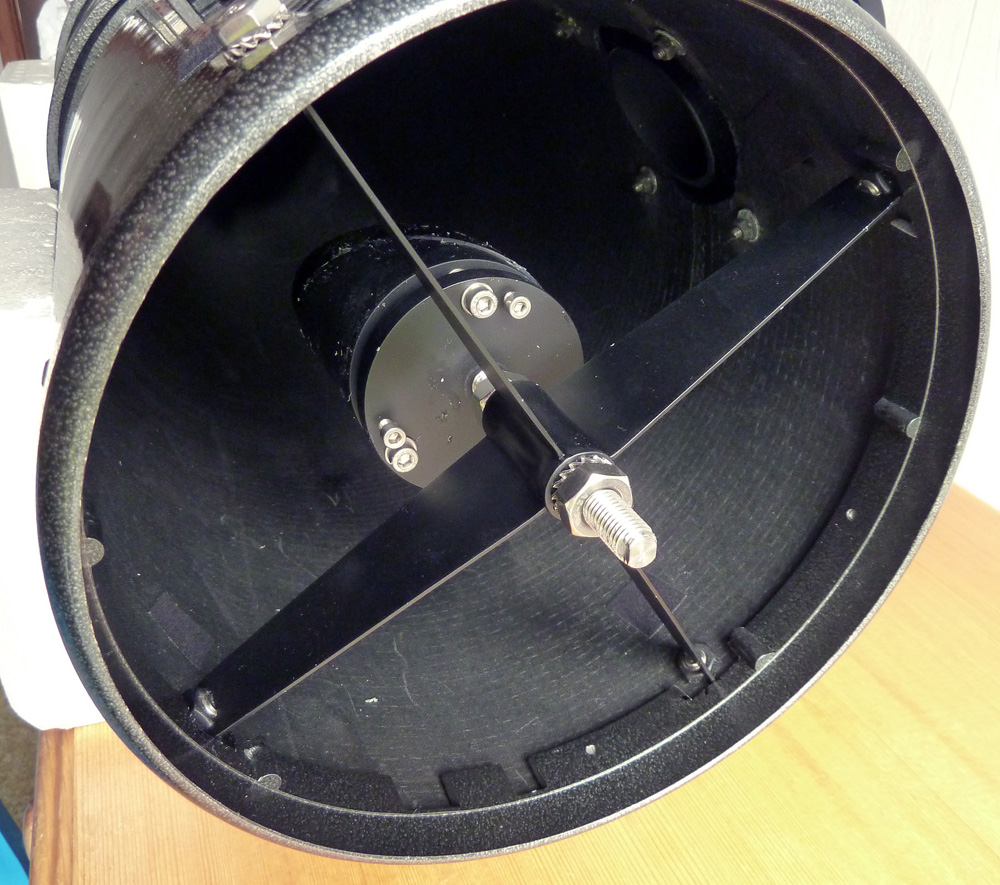

The
primary mirror can be put in the tube in three positions, depending on
the type of focuser and correctors to be used (or not). The primary mirror is
supported on 9 points, adjustment is easy with the three large
spring-load knobs, the small screws serve to block the position.
The
image below shows three main mirror positioning holes. The upper holes
are for use with the ASA corrector/reducer and now the GPU corrector, the middle holes are for
use with the MPCC (or equivalent), the lower holes are for visual use. I
was surprised to find that, after moving the mirror cell, I didn't even
have to recollimate, or at least decollimation when checking with a
star was not detectable under the seeing that night.
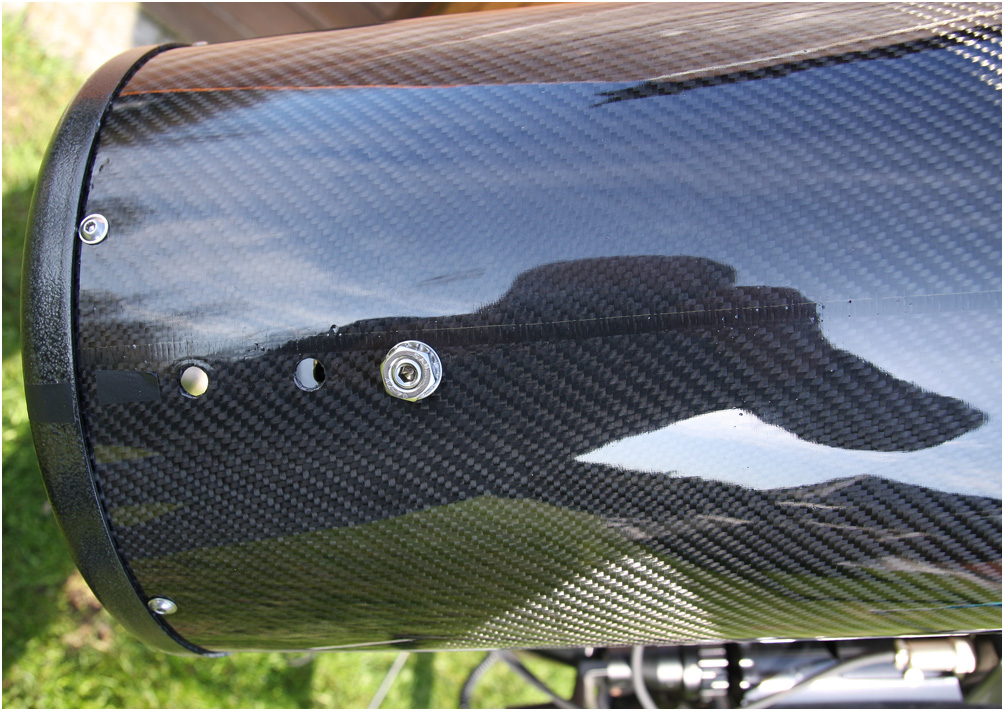
Below is a view of the counterweight system that I added to the tube.

Below
is the Baader Steeltrack focuser. Black surfaces make dust visible more
than white ones, especially on photos... When the telescope arrived, I
noticed that the focuser had vibrated loose from its support on the
tube, you need a 2,5 mm size Allen key to loosen/adjust/rotate/fasten
it on this support. The orientation of the focuser on the support needs
to be checked because in some orientations of the focuser, one of the
focus knobs can contact the base and this results in too much friction
or even impossibility to focus.
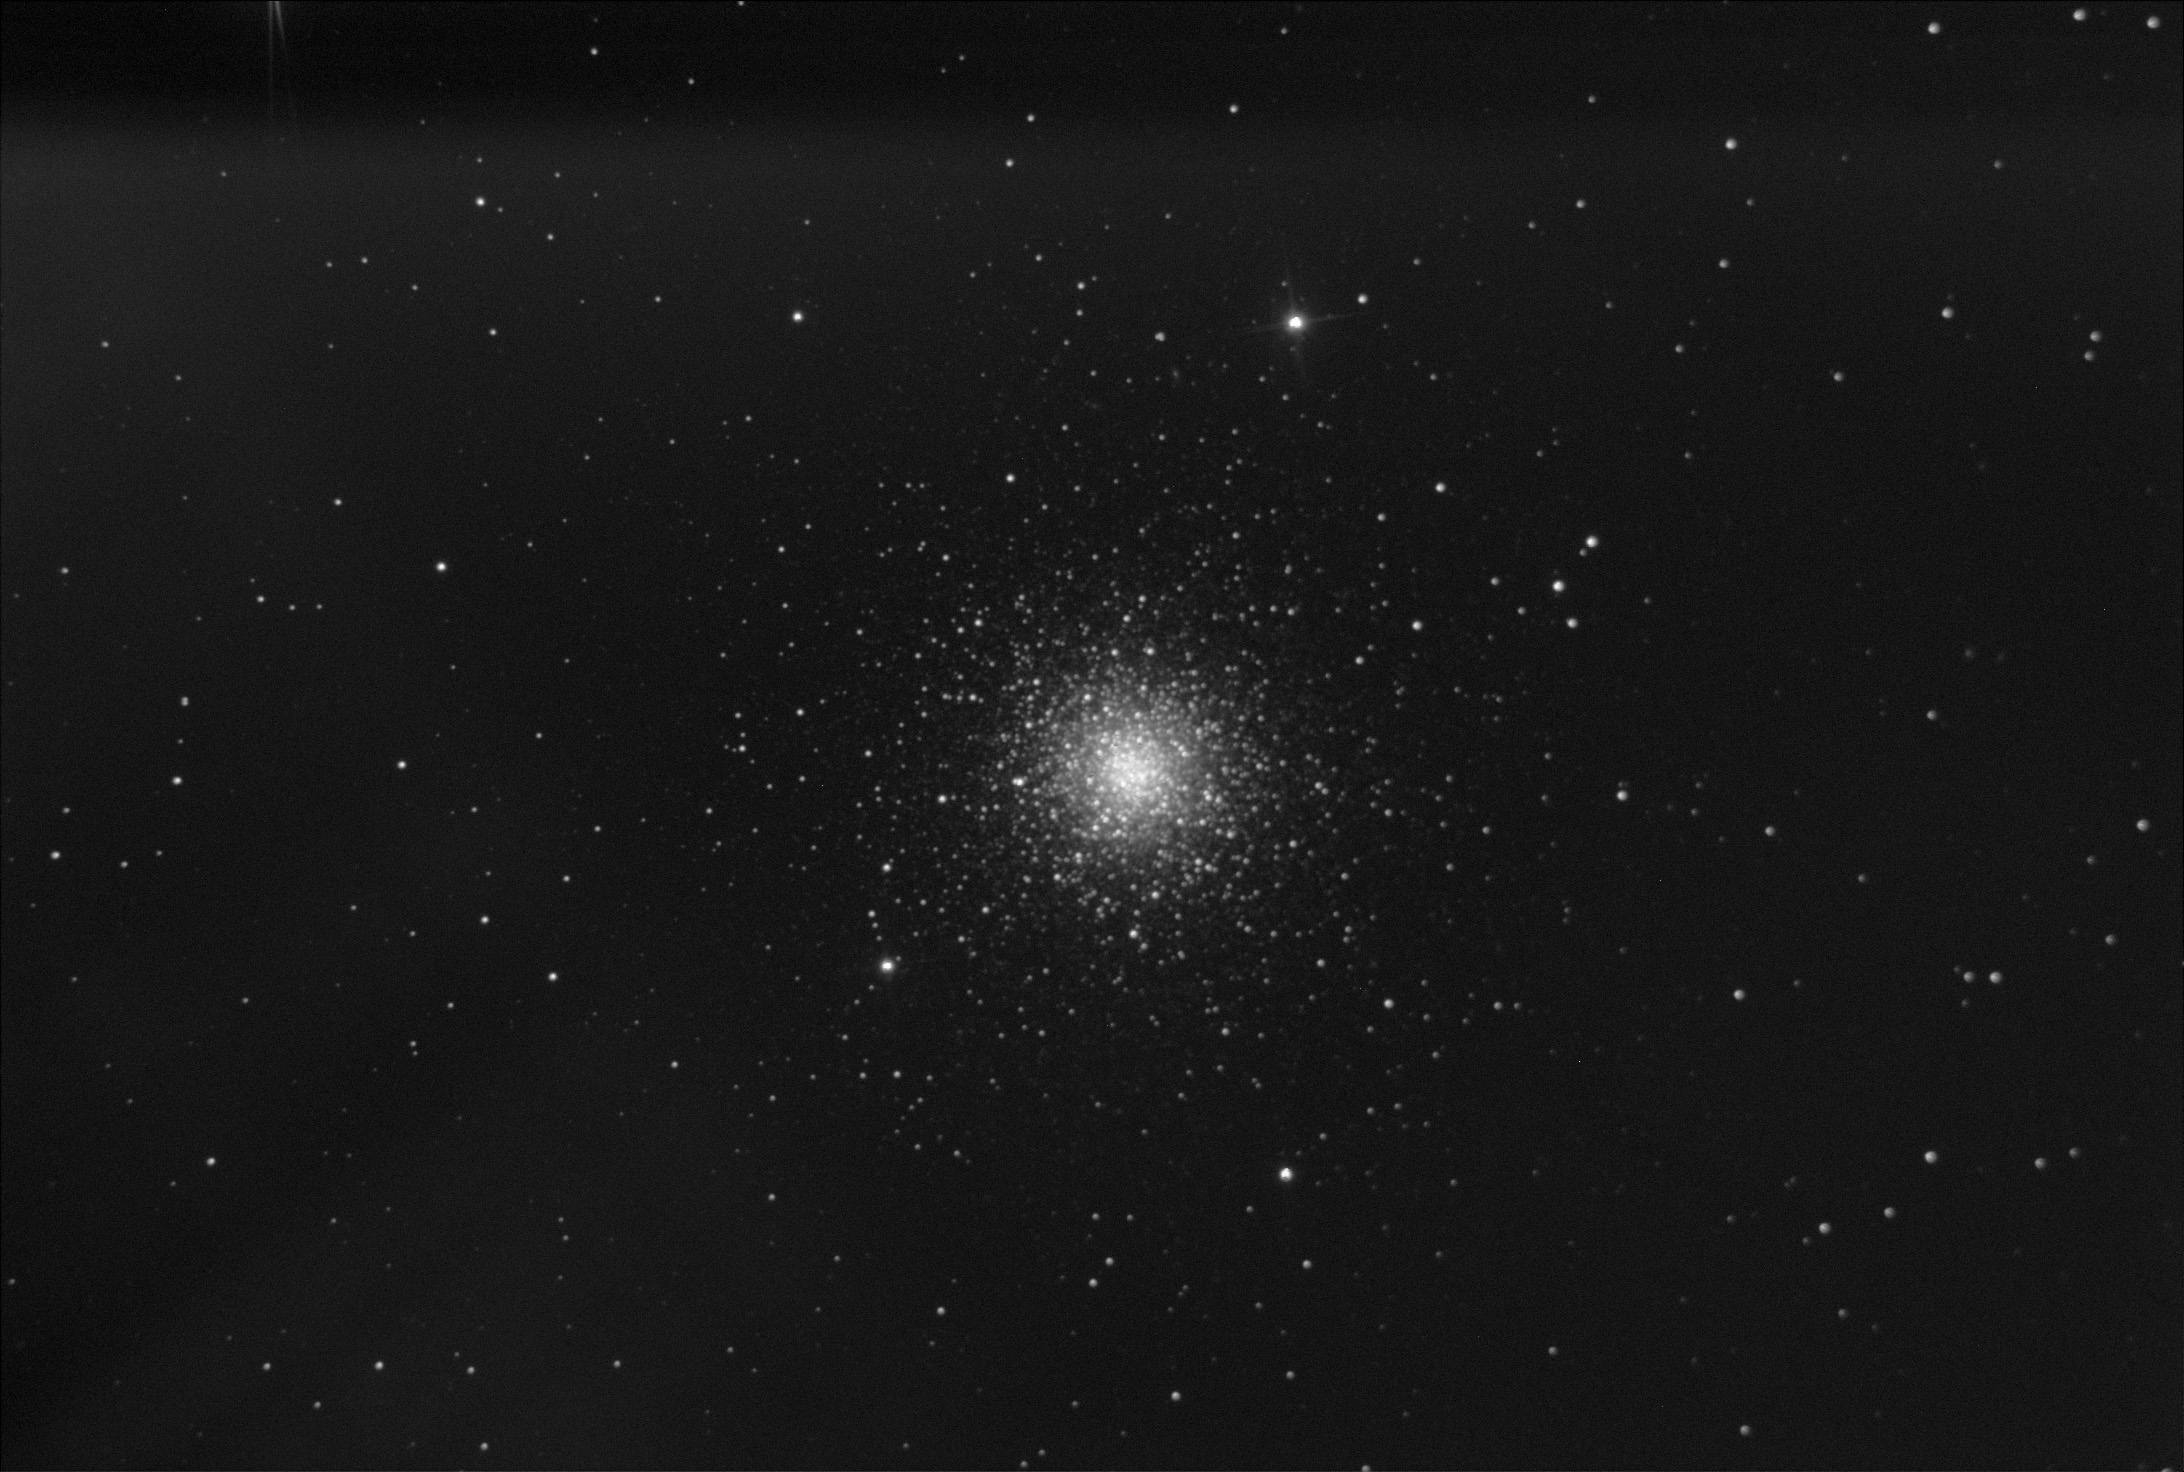
Below
is a test image of the telescope, without corrector. The image
was taken with my SBIG ST-10XE and shows Messier 3, a nearly full Moon
was nearby - a few reflections are visible. Also it seems that
the camera was not 100 % square with the focuser, the right side of the
image is more out of focus than the left side on this image. It shows
that a coma corrector is needed even with the 15x10 mm size of the
sensor.
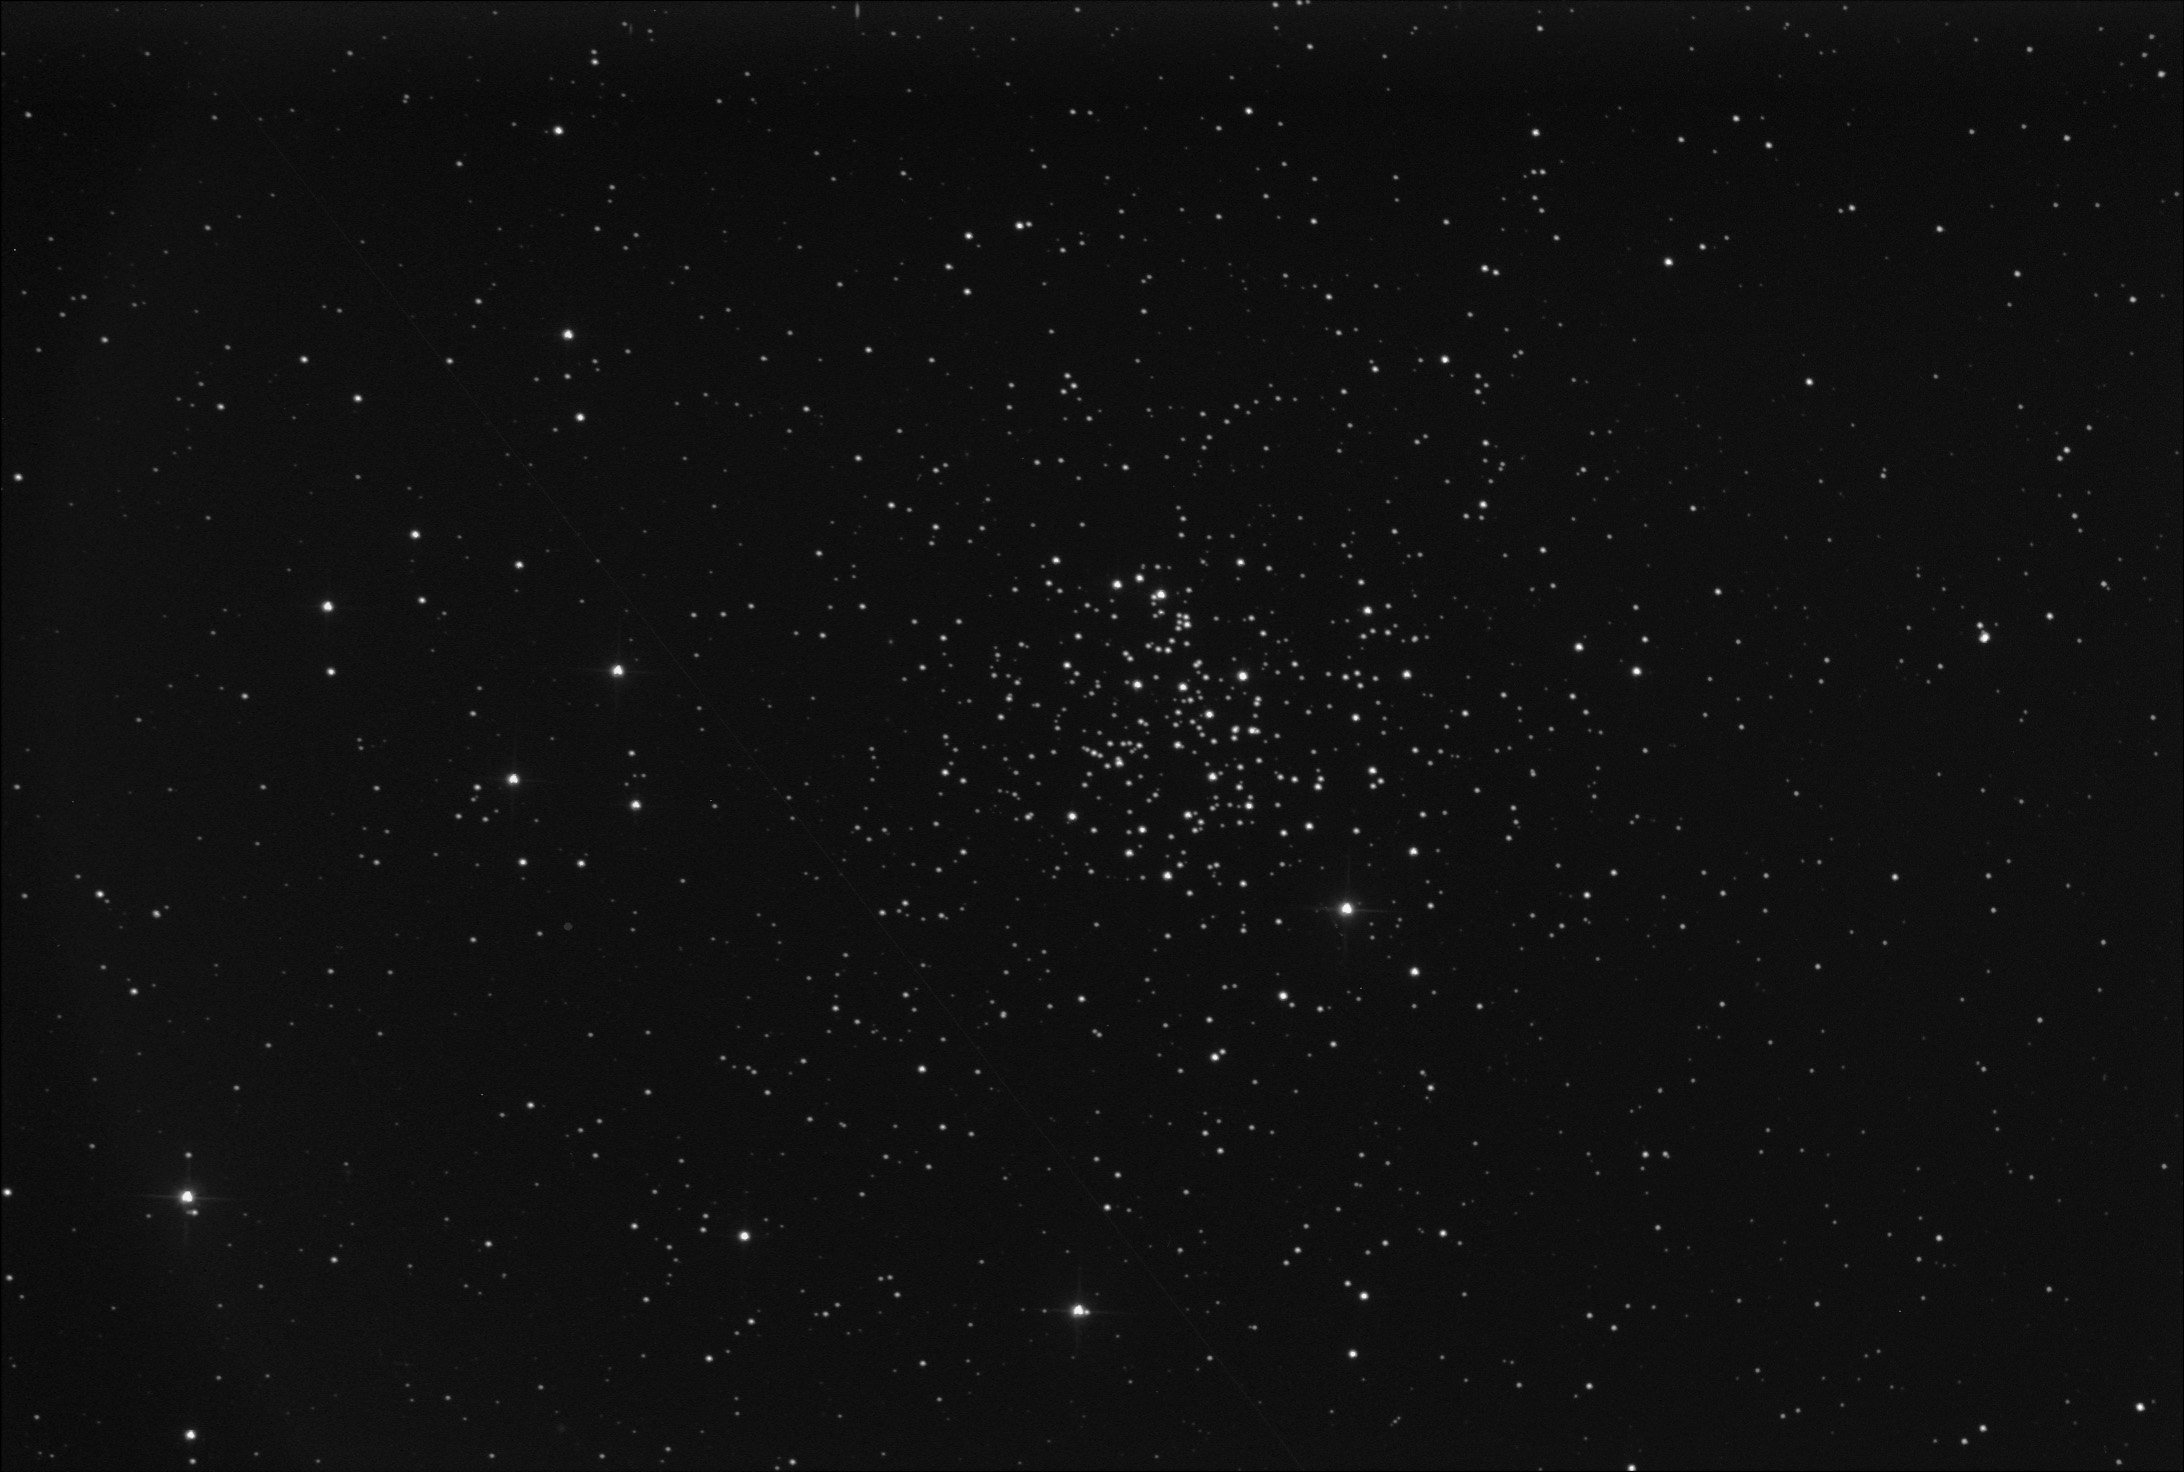
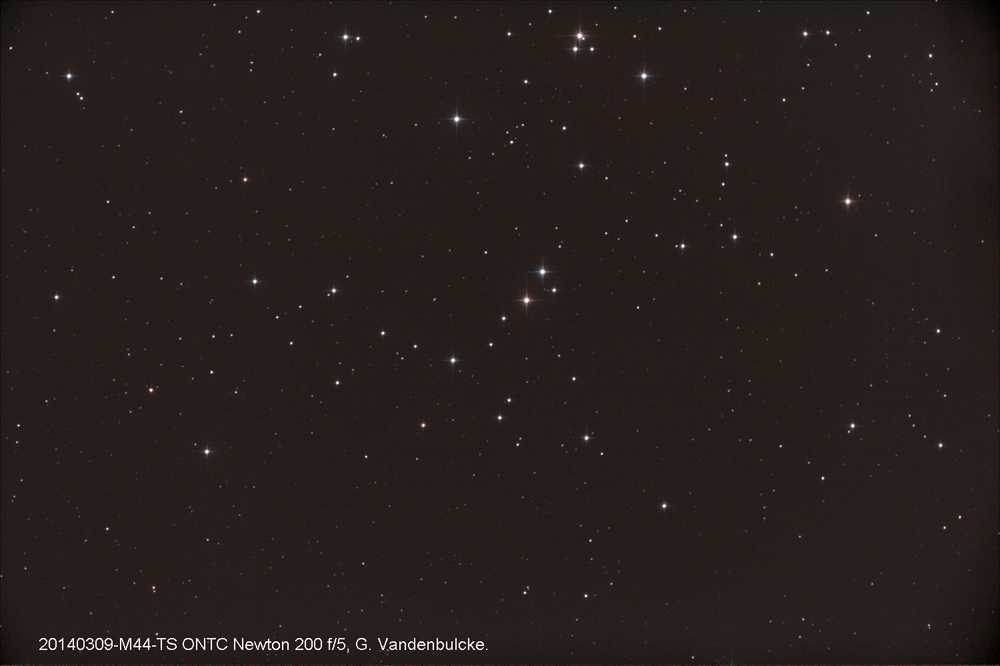
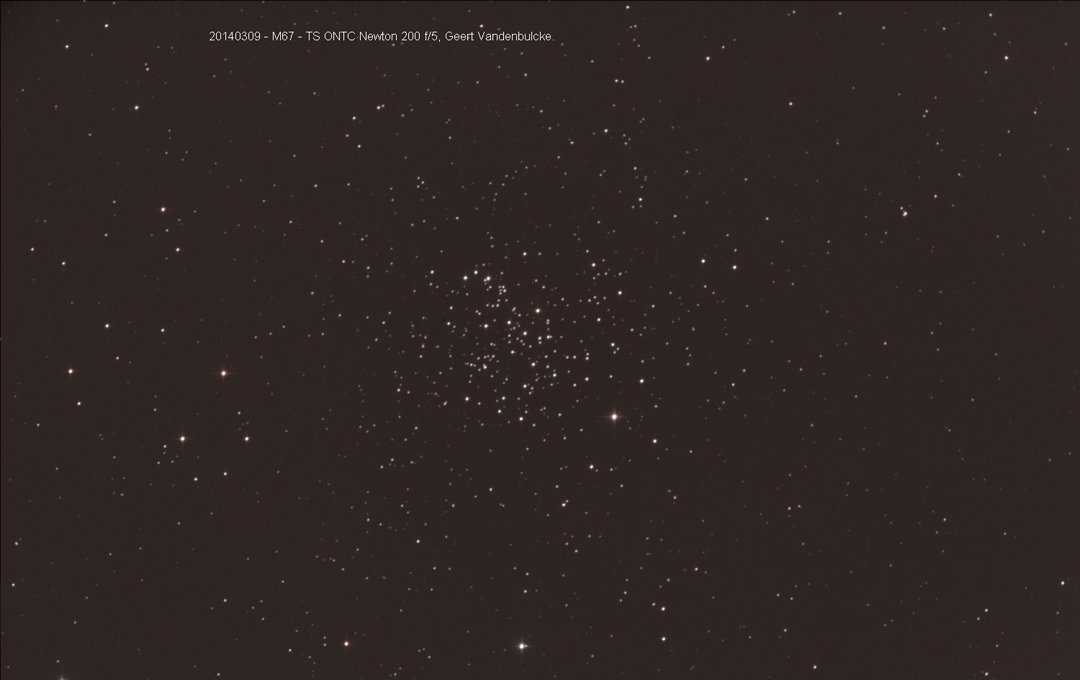
Below is an image of M67, taken using the ASA 0.73x corrector, the system was then approximately f/4.
After
inserting the new secondary holder, I also inserted some shims under
one side of the focuser so that the center of the focuser was aimed
exactly at the center of the secondary, as it should be. Then I
made a few test images with a Canon EOS 40D (modified) and the GPU
comacorrector.
Maybe I will add black flocking paper to the inside of the tube, but as it is now (April 2014) it looks good.