


Copyright © All rights reserved. Made By Erik Bryssinck Terms of use | Privacy policy


ASA DDM85XL equatorial mount
Internal USB 2.0 hub

Since a few months I started to have problems with the focus and CCD camera, where the USB connection is connected via the internal USB hub of the ASADDM85. Connection suddenly disappeared, especially on cold and humid nights this problem arose. I cleaned the USB connectors and had already replaced the USB cables, but unfortunately this did not solve the problem. On the ASA forum I read that in the meantime I did not have the only problem. The mount is from production 2009 and problem appears in 2020.
Translated with www.DeepL.com/Translator (free version)


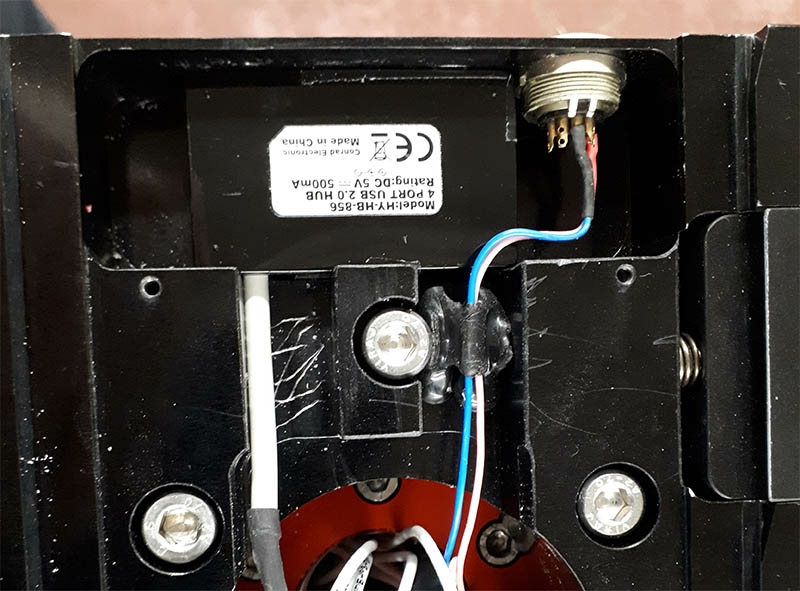
I have removed the top aluminium plate from the dec.axis and then have access to the internal wiring and the USB hub. The USB hub is stuck in the mount with some kind of silikone and there is only just enough space to insert this powered 4 port USB hub.

With a sharp knife I was able to remove the silikone and loosen the hub. It is a mini powered 4 port USB 2.0 HUB type: HY-

Here you see the place where the USB HUB normally sits. On the right you see an unconnected connector for an AK3 focuser (optional). Notice the very limited place where a USB HUB can be placed (dimensions HUB: 58mm x 34 mm x 12 mm) only a HUB with these dimensions can be placed in it. After some searching on the internet it appears that this USB hub is obsolete and has not been available for several years.


As the hub is defective anyway, I opened the plastic housing and saw the damage, presumably due to condensate that can run into the USB hub if the mounting has worked in a humid environment, metals are more sensitive to form condensate, in humid and cold sensing conditions. It would be advisable to pre-
The solution where I have choosen for:

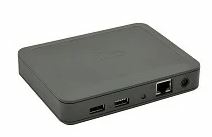
Use of a USB server, also with a USB 2.0 + USB 3.0 port and Ethernet port. (thanks to the tip of a Dutch colleague amateur astronomer W. Boot) He recommended the SILEX DS-
The data-
ASA has chosen 2 different types of 8-
More info and how to make the cables by yourself, can you find here
I opted for a double solution:
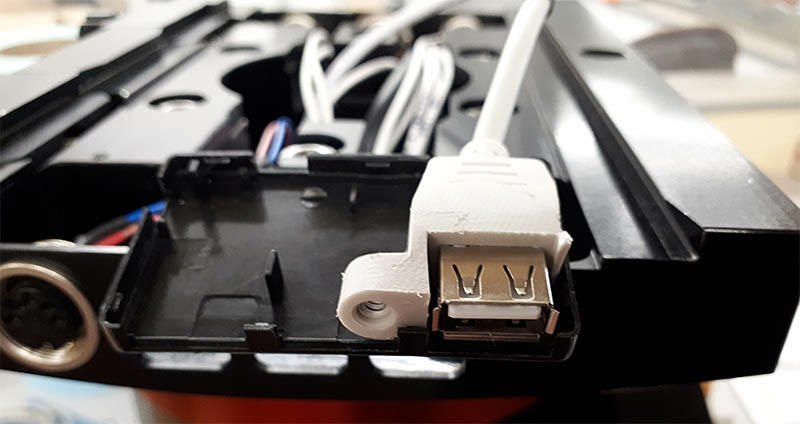
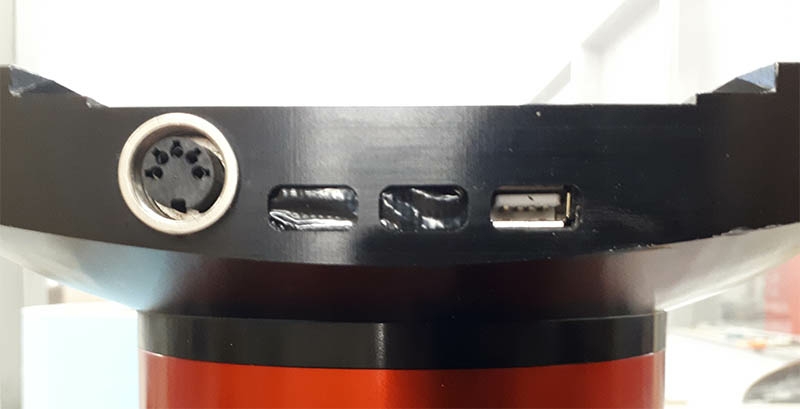
- remove the USB hub and provide 1 single female USB plug, the 5V power connector from the old hub, connected to the 5 pin connector which is not in use with me. I then have the ability to still connect an external USB 2.0 hub that requires 5V power. I need a 3 th USB port if I am putting a spectrograph on the telescope.
- using a USB 3.0 server through the data connector. the SILEX DS-
600
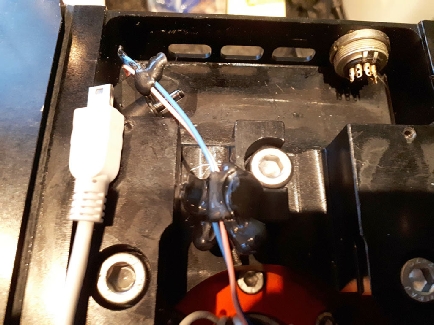
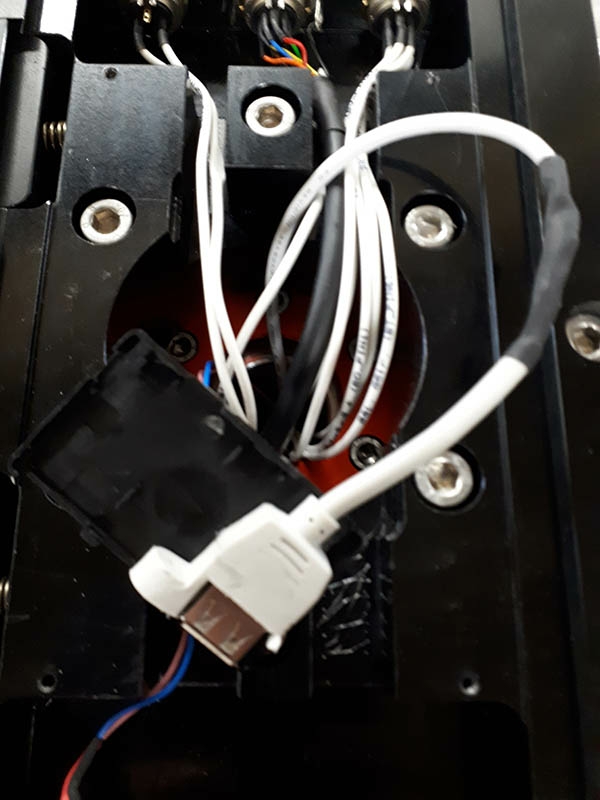
1: Remove the old USB hub and install a single female connector. The old USB hub is glued on with some kind of silicone . This can be easily cut loose and the USB 2.0 hub can be removed. I removed the PCB from the housing and glued in a single female USB 2.0 bracket. (See images above)
I cut the existing micro USB connector loose and soldered the wires to the female connector (color to color). This requires some soldering experience.
Female USB bracket glued inside the old USB2.0 hub housing
5V of the old USB 2.0 hub soldered on the not used connector. This can later be used for an external USB 2.0 hub.
Left connector has nog the 5V power for an external USB powered USB 2.0 hub (only for 3 port USB 2.0 hub)
Right the USB female connector that can be used.
Step 1:
Step 2: