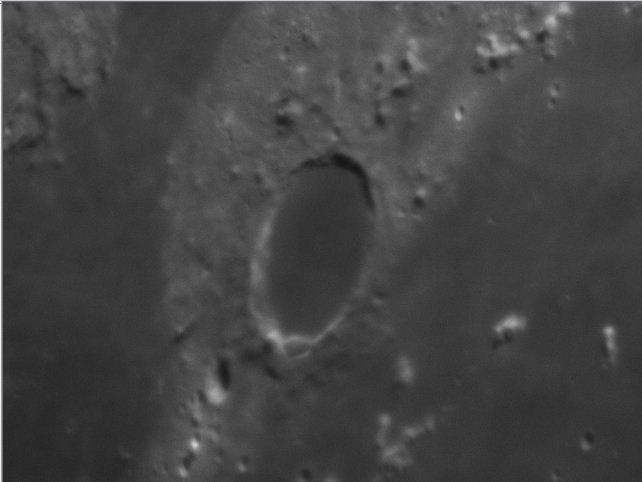
This image shows the 1st frame of a 300 frame sequence we will process
After pressing Set Alignpoints this set of Alignpoints is shown, we will now proceed with alignment.
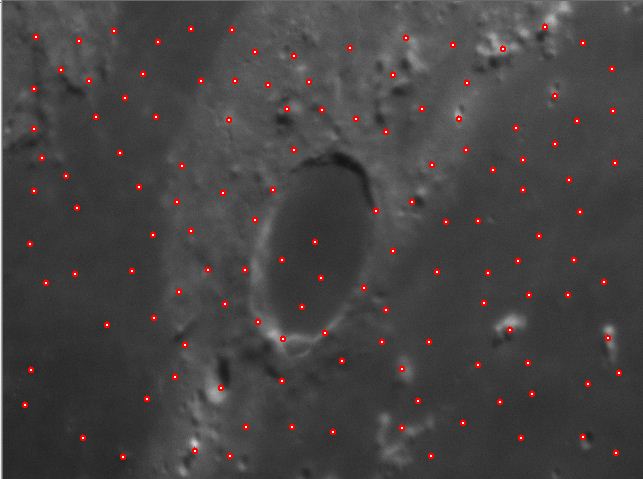
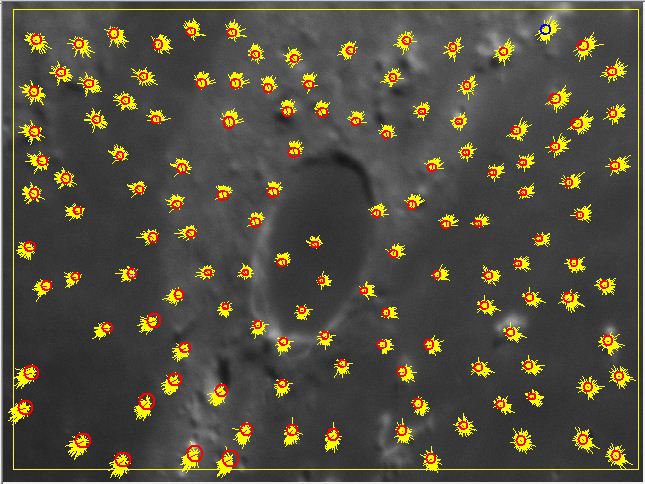
After alignment you can use the new option called "Show aligndata". This will show you how the alignment for each alignpoint has worked. The alignpoints are shown by the red circles, the blue circle (right top in this case) corresponds to alignpoint #1.
You can see that the red circles differ in size, if you look carefully you can see that some areas have larger circles in general then others. The size of the circle informs you about the average amount of shift for each alignpoint. When alignpoints show a lot more movement - compared to all other alignpoints - the circle will be larger. The yellow lines originating inside the circles show for each frame that was aligned the direction and size of the shift. This shift is - for display purposes - 5x enlarged than in reality, so often you are looking at shifts of a few pixels at a time. In this example especially the area on the lowerleft seems to move different during alignment. This is not necessary a case to worry about. But if you see very large spikes in one or more alignpoints it could be wise to align once more but remove those alignpoints before alignment.
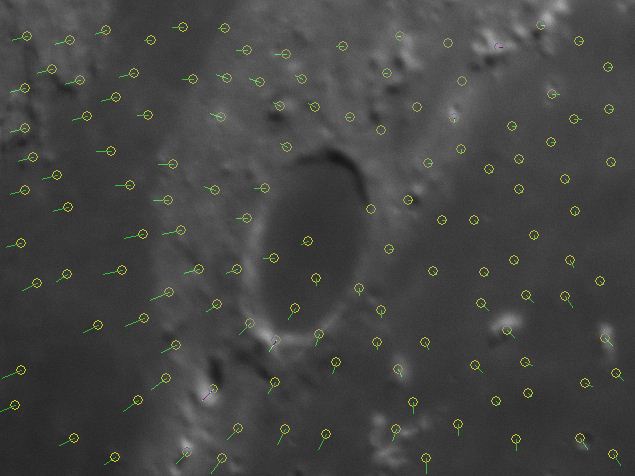
New in RegiStax 6 is also that when you have checkmarked "Show aligndata" you can inspect the aligmentdata for each frame. This image and the one further down show the type of information you can get. The yellow box is the area that is present on all frames, the alignpoints are shown using yellow circles and the green lines show the size (5x enlarge) and direction of the movement of the alignpoint.
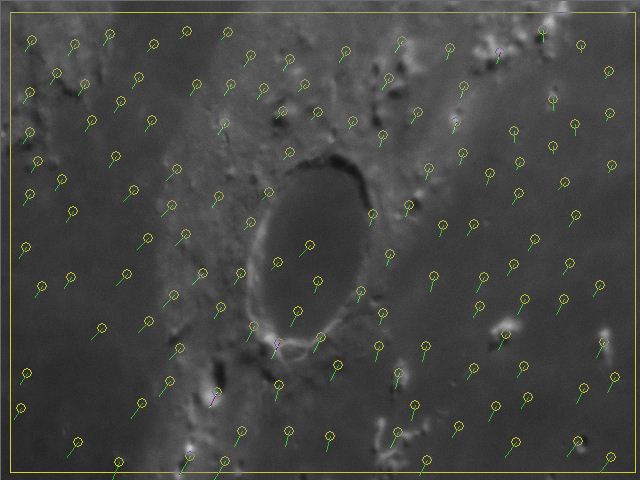
In this image you can see stretching due to seeing of the image happening, the alignpoints on the left-top move far less than the alignpoints on the lower-right.
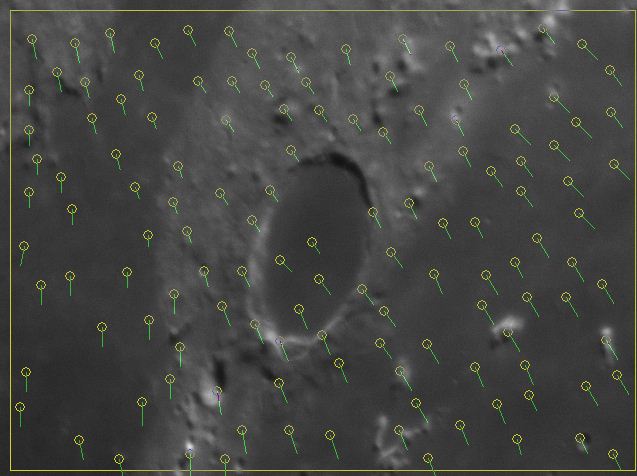
This image was seen as the worst in this test sequence, its not only blurred but the movements of the alignpoints are also into many directions.